Project 3: Logo design
For this project, you will be collaborating with the marketing class to create a logo proposal and then create a final logo in Illustrator that shows off your design skills. A student from the marketing class will come to you with a company pitch and a target market. It will be your job to present a series of 5 or more polished sketches to the client that meet their needs and collaborate with them to come up with a finished logo design.

LEARNING TARGETS:
- I can use the artistic process to come up with a logo design that fits my company's needs.
- I can use my knowledge of logo design rules to select the best logo and create a plan to build it in Illustrator.
- I can collaborate with a client in a professional manner. This means meeting their deadlines!
|
|
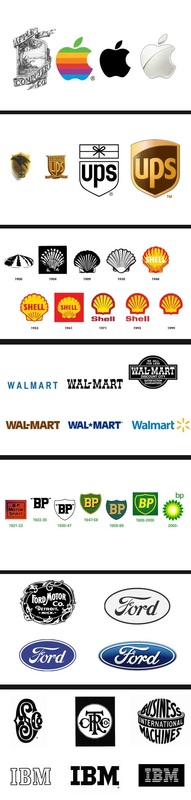
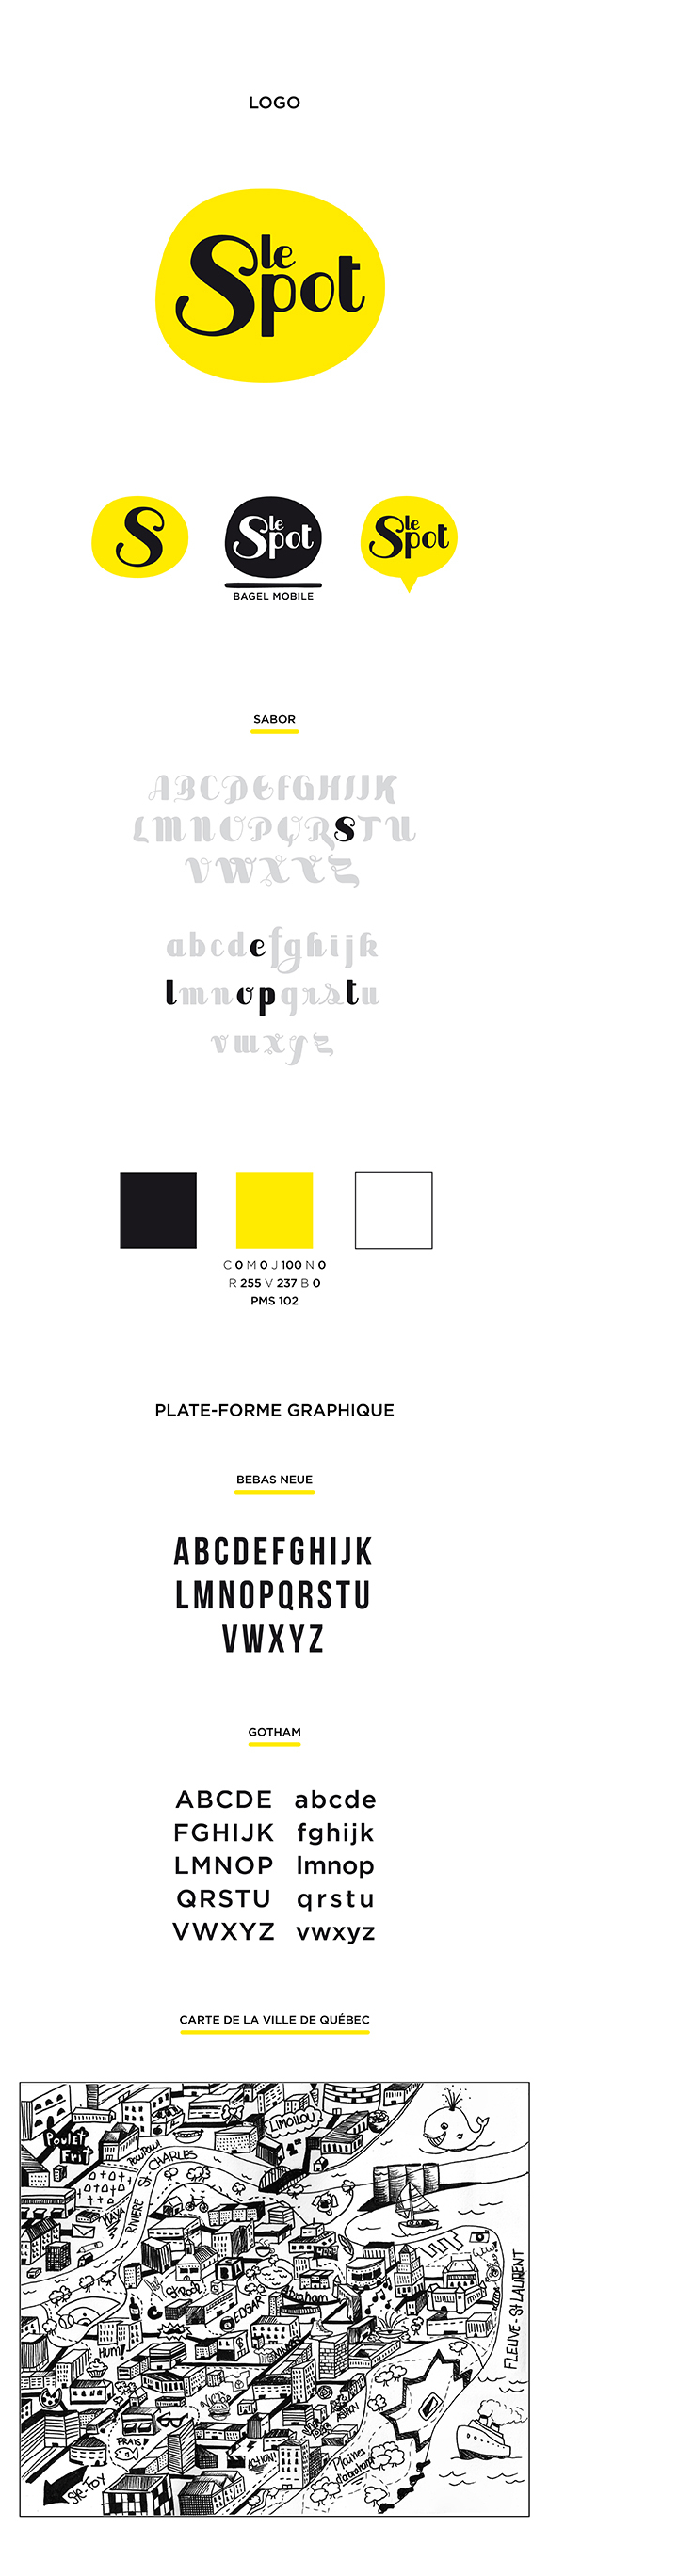
High Quality logos:
are simple
have high contrast
can be scaled to any size
work in black& white or color
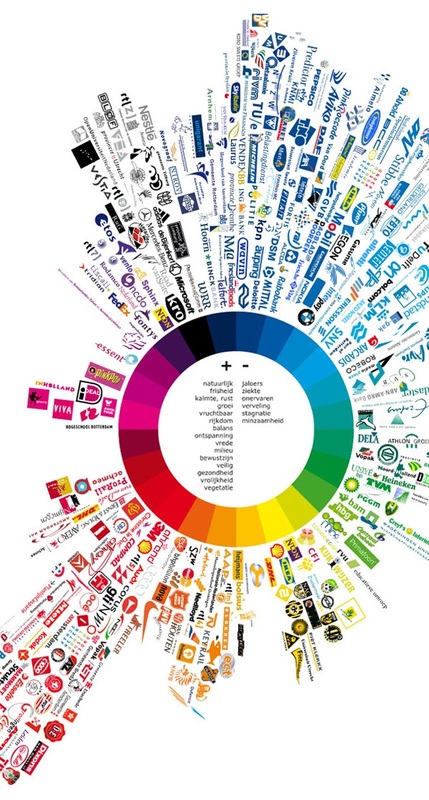
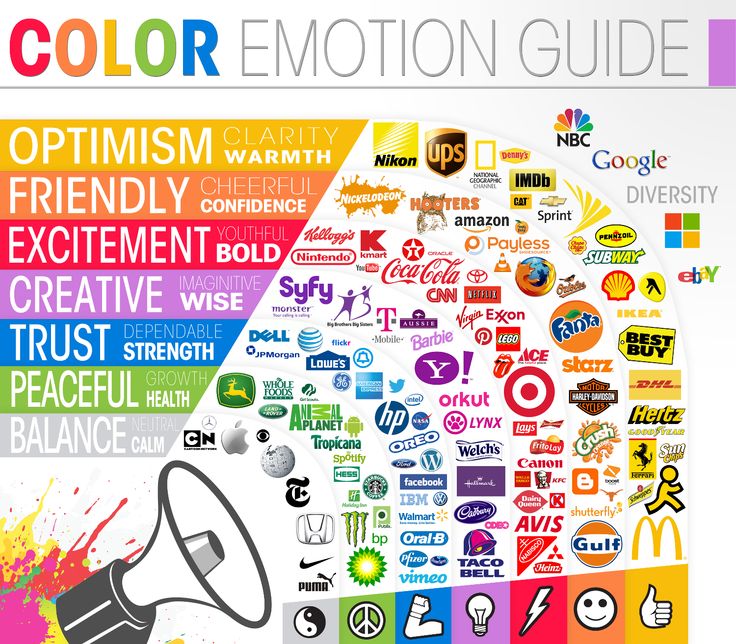
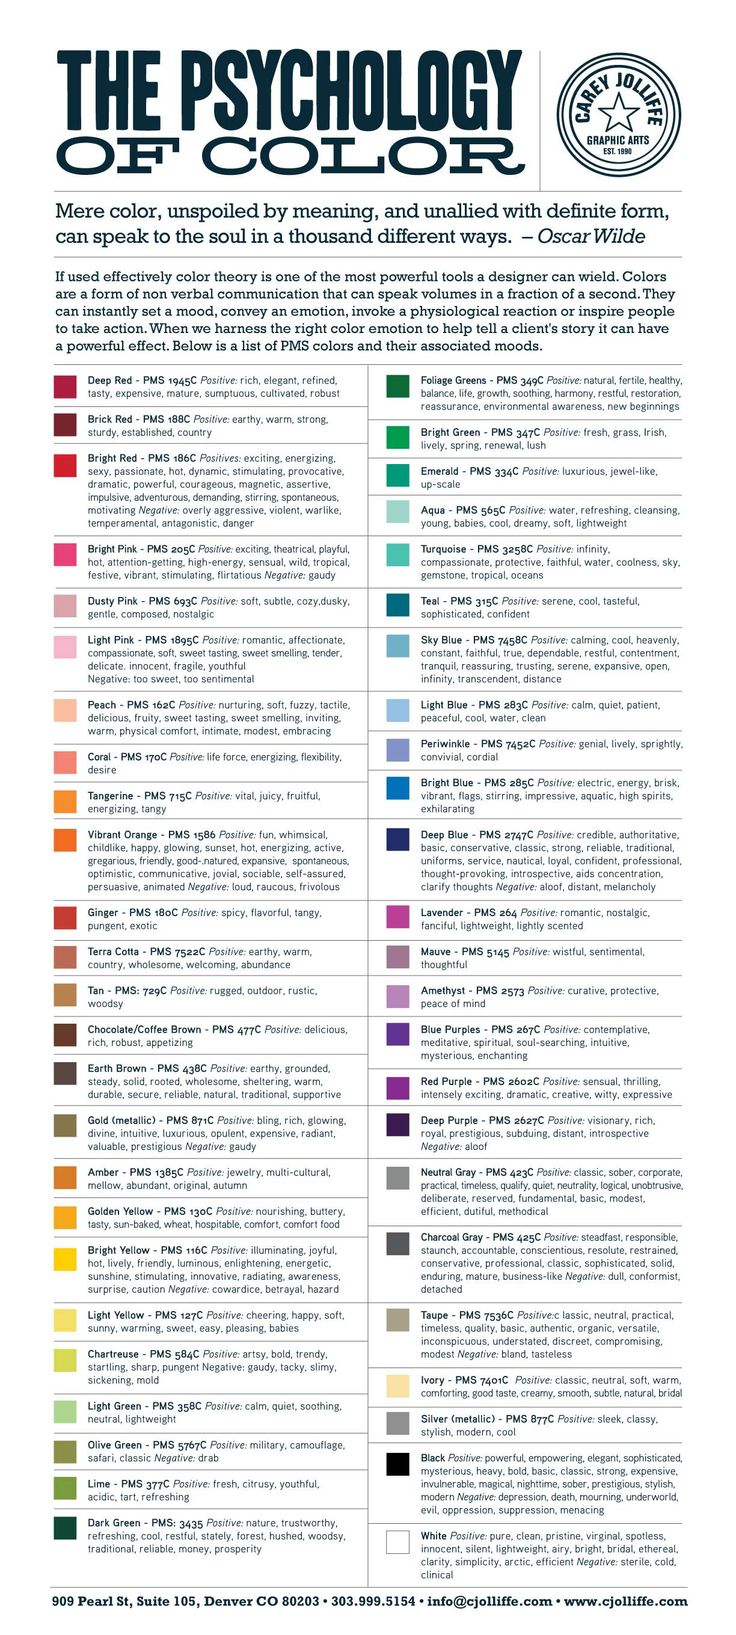
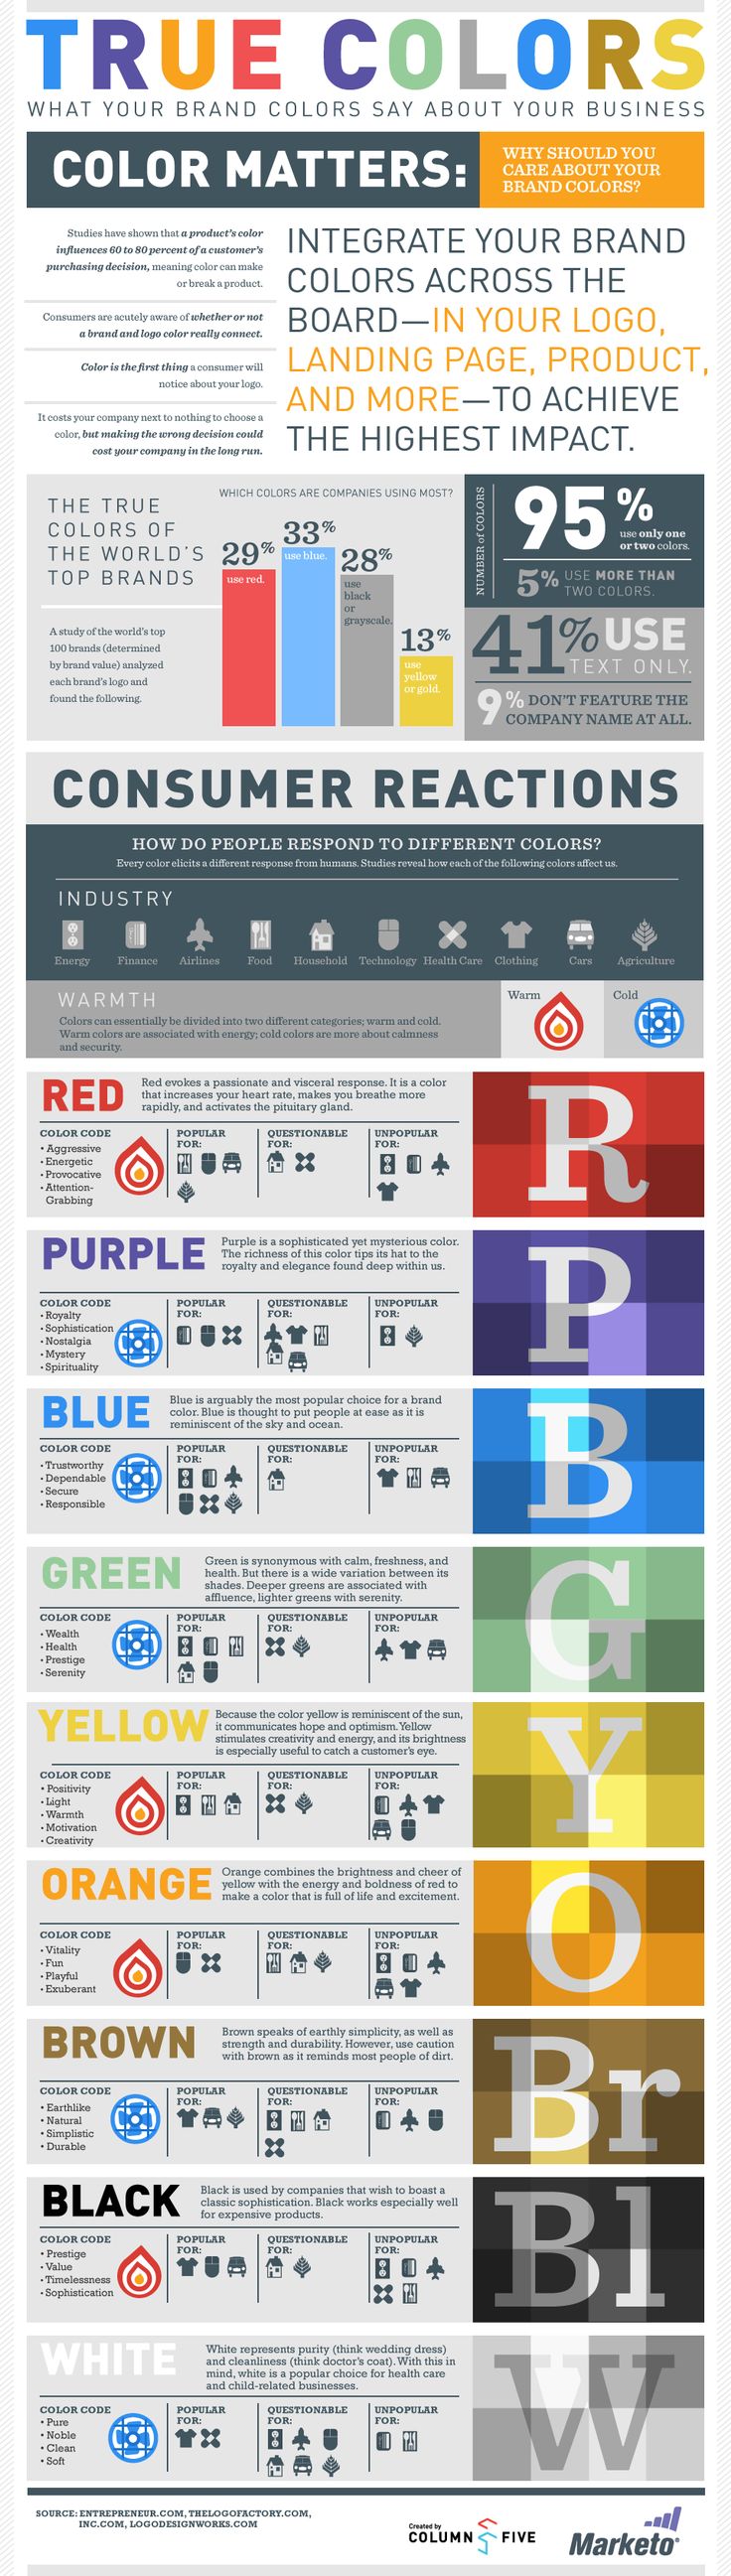
Logos and color Theory

|

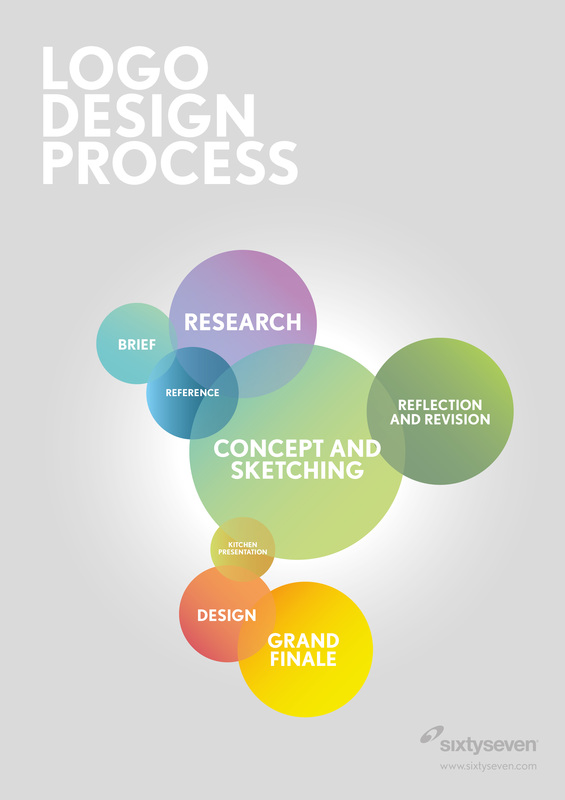
Step 1: Brainstorm and Investigate
When you receive your brief from your client, your first step should be to use the information they gave you about the company and target audience to brainstorm your 2-4 style words. Then begin to investigate and research different options for typefaces, images, etc. Your piece should also communicate the message that your client wants customers to perceive about their company. Remember that good brainstorming involves coming up with as many ideas as possible even if they are bad!
When you are done complete Peer Critique 1 with a partner. |
Step 2: Organize and Develop
|
Plan
your logo in black and white. Make sure it passes the scale test to look good in any size and make improvements to your best designs using your knowledge of the elements and principles of design. Use your knowledge of color theory to choose the best color scheme for your client. Create mock up designs in either Adobe Ideas or Illustrator to present to your client.
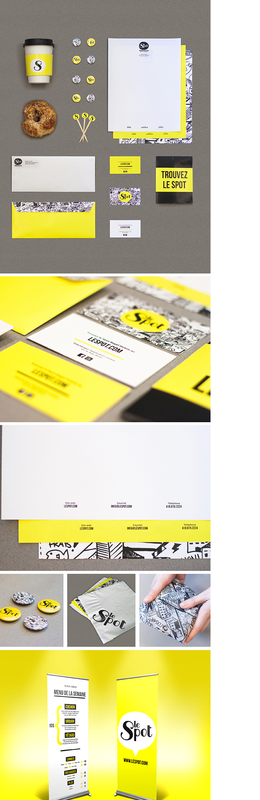
How to prepare a client presentation You will explain this and all of your thinking in your blog post |
Step 3: Revise and Refine
Once you have gotten your feedback from your client, you should make improvements and adjustments to your piece. You may need to check in multiple times with your client and make changes. Once you have problem solved any remaining issues, complete your blog post.
Step 4: create
Design a final polished piece in Adobe Illustrator. This should include your logo in black and white and color. At some point check in and post about how it is going.
Step 5: polish and present
|
Create your final branding presentation to the client.
Convert the file for your piece and write your artist statement. Put both in your digital portfolio Write your polish and present post. |
